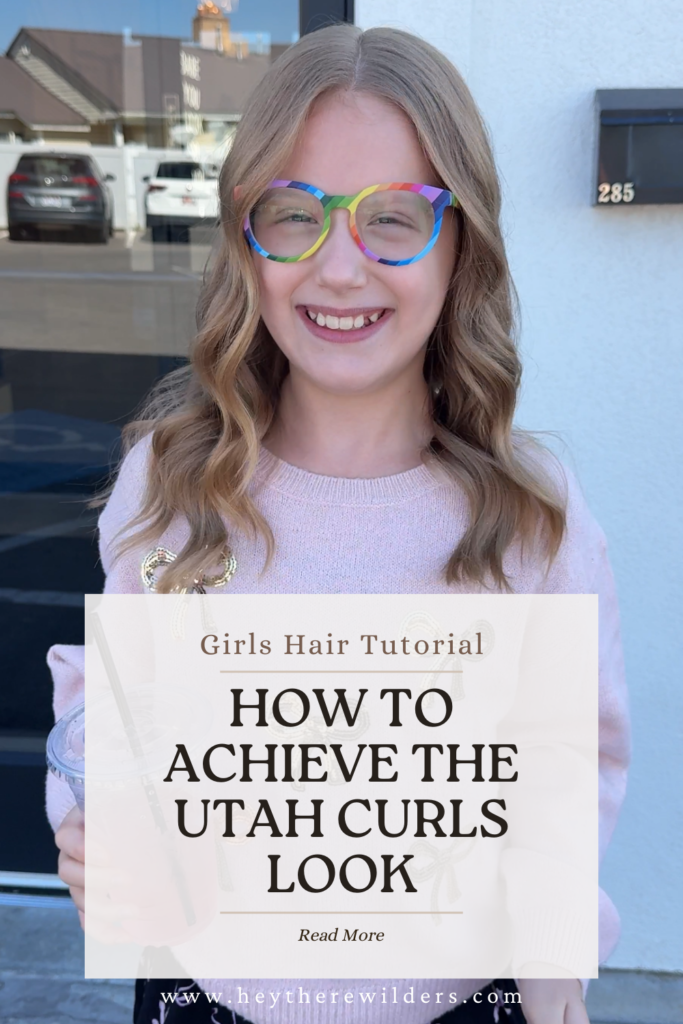
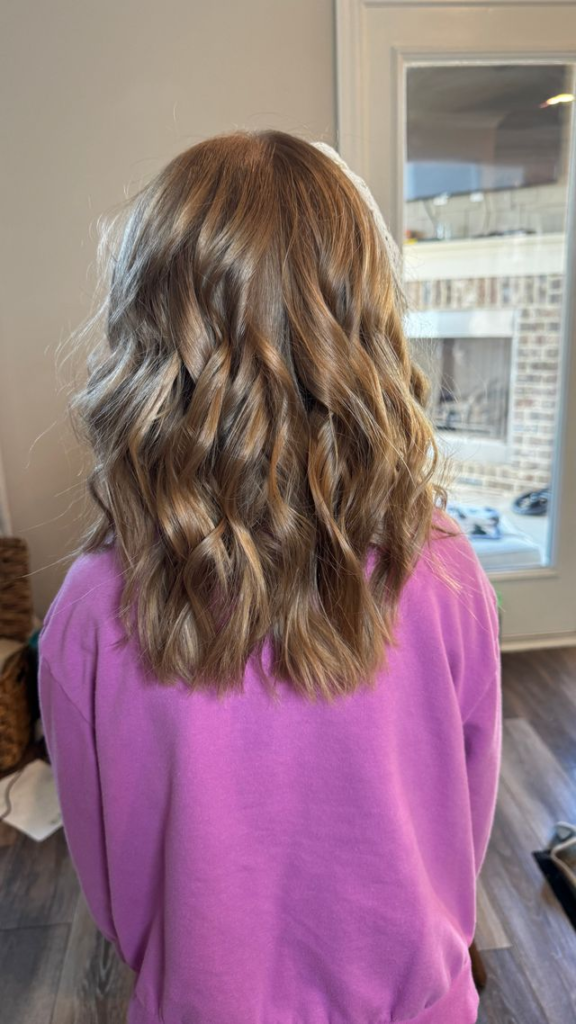
Hey, friends! Today, I’m diving into a hairstyle that’s been everywhere lately: Utah Curls! If you’ve been scrolling through social media or caught a glimpse of the latest trends, you’ve probably seen these beautiful, soft waves.
Utah Curls are all about a laid-back, effortless vibe that feels casual but looks super put-together—kind of like you woke up with perfect hair (even if you totally didn’t!). As a busy mom of five, I know how important it is to have a style that looks great but doesn’t require a salon visit every day.
Here’s my guide to nailing Utah Curls at home—complete with tips to make the process easier and quicker for all of us on-the-go moms!

Step-by-Step: How to Achieve Perfect Utah Curls
1. Start with Clean, Dry Hair
Clean hair is key for this look. I typically wash my hair the night before and let it air dry. Utah Curls look best when you have a little natural texture, so if you have time, let your hair dry naturally.
If you’re short on time (like me, most days!), a quick blow dry works too. I love using a lightweight, heat-protectant spray to keep my hair healthy and avoid frizz.
2. Choose the Right Curling Iron
To get those soft, voluminous curls, you’ll want a 1.25 to 1.5-inch curling iron. This size creates looser curls that look more relaxed.
I recommend finding an iron with adjustable heat settings, especially if you have finer or thicker hair, so you can control the temperature.
Link to my go-to curling iron
3. Curl in Sections – But Don’t Overdo It!
Part your hair into sections; I usually go for four to six sections, depending on the day (and my patience level!).
Here’s the trick: wrap each section around the barrel of your curling iron but leave the last inch or so of hair out to give it that “effortless” look. Hold for about 5-8 seconds. Don’t stress if it’s not perfect—the beauty of Utah Curls is in their natural, loose feel.
4. Alternate Curl Directions for a More Natural Look
This is my secret weapon! Alternating the direction of each curl (one towards your face, one away) gives your hair more dimension and volume.
It looks more “lived-in” and less like you tried too hard. Trust me, this makes such a difference in the final look!
5. Let Curls Cool and Break Them Up with Fingers
After curling, let your hair cool completely. Once it’s cool, use your fingers to gently loosen the curls.
A wide-tooth comb works too if you want a bit more separation. I personally love using my fingers because it helps keep the waves soft and natural. Make sure to add hair oil for extra shine.
6. Finish with a Texturizing Spray or Light Hairspray
Finally, spritz some texturizing spray or light hairspray to add a little hold and volume. Utah Curls are all about that carefree, slightly tousled vibe, so go light on the product.
Too much can weigh down the curls or make them look stiff.
Link to my favorite texturizing spray
Link to my favorite hairspray
My Experience with Utah Curls
I first tried this look on Tiger’s hair a few weeks ago, and I was shocked by how easy it was to get a stylish look in just minutes.
I remember doing this while the kids were getting ready for church, hoping I could sneak in a quick hair session before it was time to go. The best part about Utah Curls is that they stay in place but soften over the day, which somehow makes them look even better by evening!
It’s a relief to find a style that’s durable but still looks casual enough for daily life. And when I don’t have time to redo it the next day? A little dry shampoo, and I’m back in action!
You’ve Got This, Gorgeous!
I know that finding time to style your hair can feel like a luxury, but I’m here to tell you Utah Curls are worth it!
They give you that effortless, pulled-together look without taking forever. Plus, they work well for any occasion—from school drop-offs to date night.
So, give it a try, and let me know how it goes! Drop a comment below if you have any questions or tips of your own—I’d love to hear them! And if you’re on the hunt for the right tools, I’ve linked some of my must-haves above to make it even easier for you to get started.
Happy curling, friends!